Tiny Homes
Our foray into the world of tiny homes wasn’t exactly planned or conventional. It began with a huge sitework project for our parent company, Faber Construction, at a five-acre resort on Lake Whatcom named Wildwood. At the time, it was a dilapidated RV campground with major drainage and septic issues. We were tasked with completely revamping the site’s infrastructure.
The developers purchased this hidden gem with the intention of creating a lakefront tiny home resort community and had been working on their tiny home builds independent of us. Due to repetitive quality control and communication issues with out-of-town builders, they asked us to get involved with the tiny home construction. We jumped at the opportunity – we built big homes well, so why couldn’t we do the same with tiny ones? The rest is history. Welcome to West Coast Tiny.
Park Models – The tiny homes we built for Wildwood Resort are classified as Park Model Recreational Vehicles (also known as Recreational Park Trailers) and built to comply to the ANSI 119.5 code standard. Park Models do not exceed 400 SF, must be mounted on wheels, and are designed to provide temporary accommodation since they classify as an RV. They are used for recreational purposes rather than permanent residences although some jurisdictions do allow full-time living in Park Models.
Tiny Homes – We also build tiny homes that are legally called Tiny Homes. These Tiny Homes are built according to the International Residential Code (IRC) Appendix Q and the Washington State Energy Code (WSEC). They can be used as permanent dwellings. By code, both Park Models and Tiny Homes are 400 square feet (SF) or less not including loft square footage.
Modular Homes – Providing the perfect combination of tiny home affordability with the comfort of a full-size home, West Coast Homes offers a modular model. Our modular model is a 878 sq ft 3-bed, 1-bath home. Although small, this home packs in all the essentials, a spacious bathroom complete with a laundry nook, a mudroom, beautiful u-shape kitchen and large windows throughout. It’s a great option for a first time home buyers or could also be an ADU in a backyard, the options are endless.
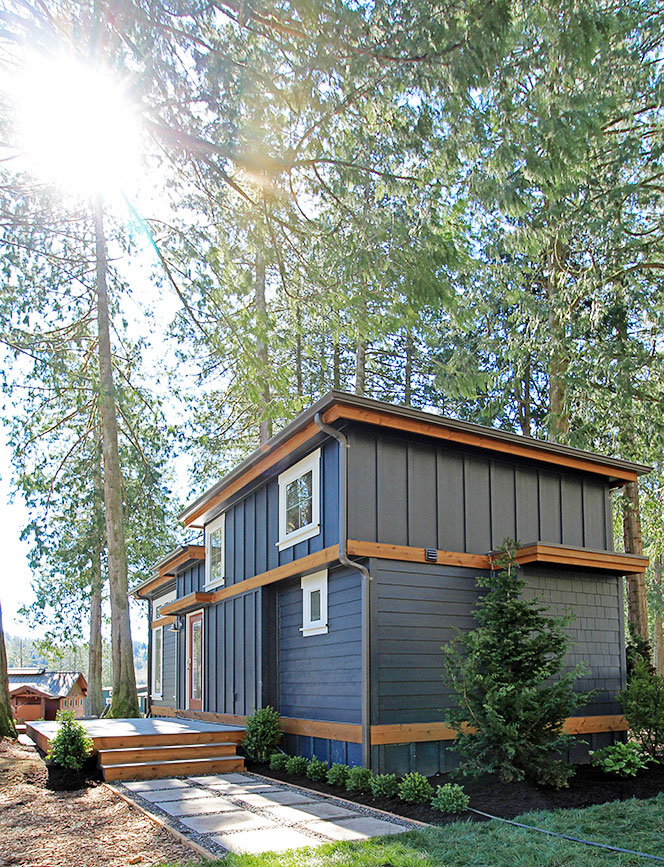
THE TINY HOME BUILDING PROCESS
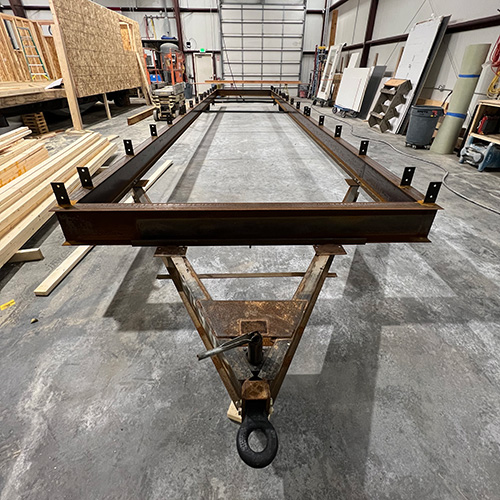
Fabricate the Chassis
Our steel chassis are custom-made. The length of the chassis is dictated by the overall tiny home dimensions, with the most notable variation being the presence or absence of a front deck. Tabs are welded on to the chassis to allow for the secure fastening of floor joists to the frame.
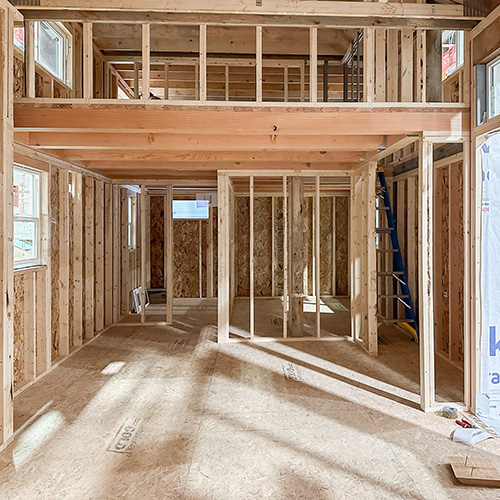
Framing & Windows/Exterior Door Installation
A plastic vapor/rodent barrier is installed on top of the chassis prior to any vertical construction. The framing officially starts with the install and sheeting of the 2×8 floor joists, followed by the first-floor walls. Next come the loft beams and car decking, followed by the second-floor walls, and finally the roof joists and/or trusses. Once the roof is sheeted and the interior framing is complete, the framer installs all windows and exterior doors.
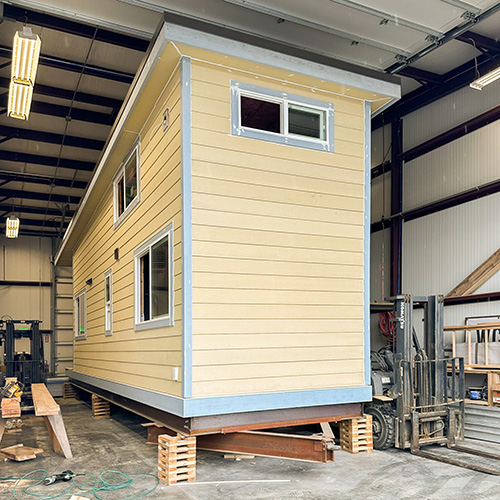
Roofing & Siding
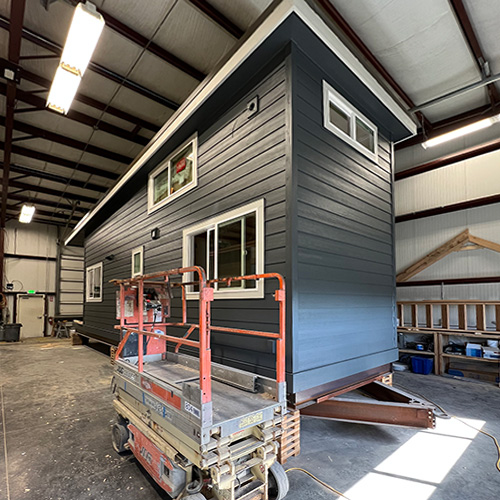
Once framing is complete, the roofers come out to install either a TPO roof or metal roof depending on the model chosen. The siders come in behind them and install Hardie siding and wood trim, working hard to get your exterior weather tight.
Exterior Painting
The painters are next on the scene and come in to stain any raw cedar on the unit if your model has stained cedar. Once the stain is dry, windows and doors are masked off and the body of the tiny home is painted. The masking is then removed, and the trim color is rolled on around the windows and doors. Once the trim is dry, the exterior doors are painted—either a neutral color to match the trim, or a bold, stand-out accent color to match your style.
Mechanical, Electrical & Plumbing (MEP) Rough-In
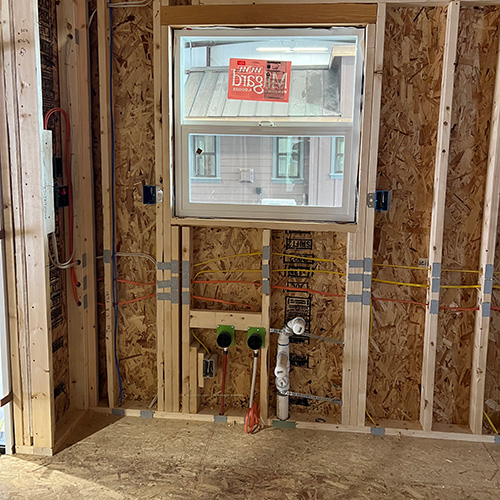
This is the part where things get a little messy; lots of drilling and splicing by three different subcontractors. First in is the plumber, who runs his water and drain lines. Next is the mechanical subcontractor, also known as HVAC (heating, ventilation and air conditioning). He installs the fans and gas piping for appliances, tankless water heater, fireplace, and any other items that need propane. The last ones in are the electricians, who run all the wire for your lighting and entertainment needs.
Insulation
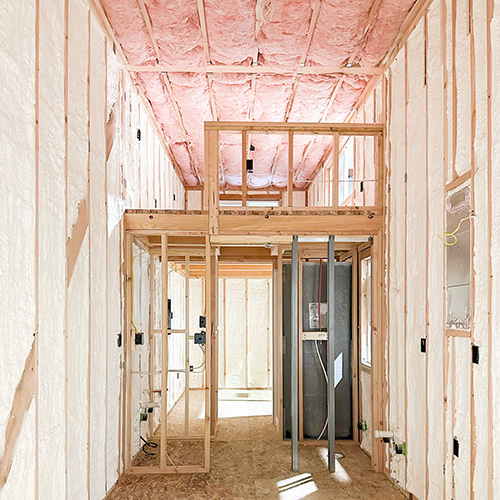
Now it’s time for the pink stuff! All the exterior wall cavities, ceilings and floor joists get filled with insulation—typically it’s batt or blown-in insulation, but this depends on what your unit requires and where its final home will be. Heavy-duty tape is used afterwards to seal any MEP rough-in penetrations in the rodent/vapor barrier.
Drywall
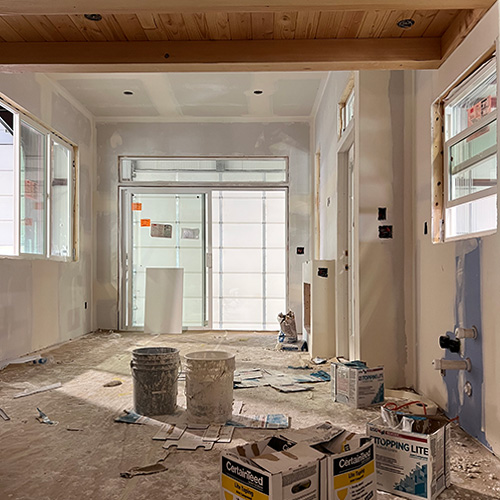
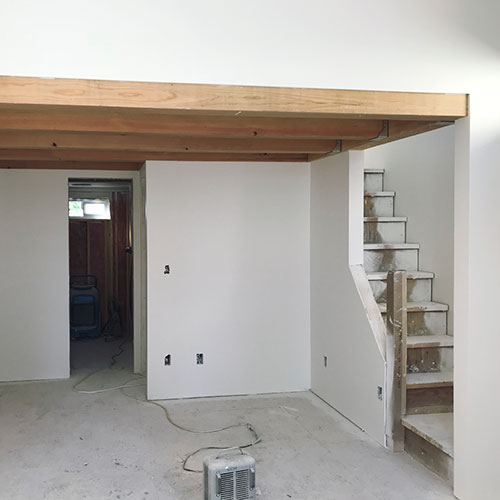
This is when excitement levels usually start to rise! Once the sheetrock is hung, you finally get a good visual of how big each space will be, and the overall feel of your tiny home. After the hangers come, the extra sheetrock gets cleaned up, the floor is papered for protection, and the mudders and tapers come in to cover up all the drywall joints and screws.
Interior Painting
All interior spaces are transformed by a thick coat of primer, followed by the paint color(s) selected by the owner.
Flooring Install (Hard Surface)
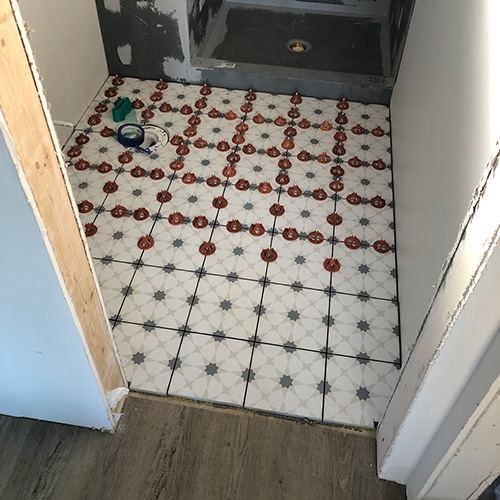
In the bathrooms, the underlayment, floor tile, and grout are installed, while vinyl plank flooring is installed throughout the main floor. “Soft surfaces” like carpet are installed at a later stage of the project.
Cabinetry & Countertops
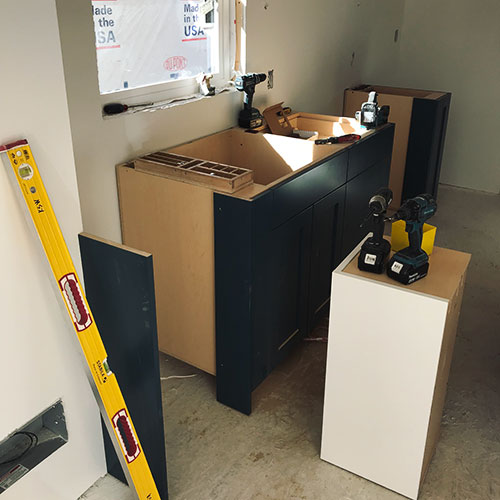
Cabinetry is installed in the kitchen and bathroom. Once the base cabinets are installed, the countertop subcontractor measures the cabinets for countertops. About a week later, they return to install the countertops, set the sinks, and drill holes for kitchen and bathroom faucets.
Interior Trim & Door Install
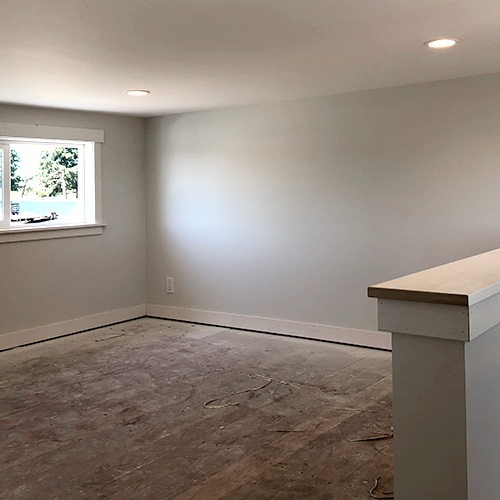
Next, all interior windows are prepped, the interior doors are hung, and the finish carpenter comes in to install all window, door, and base trim. The stair railing is the final step of the install.
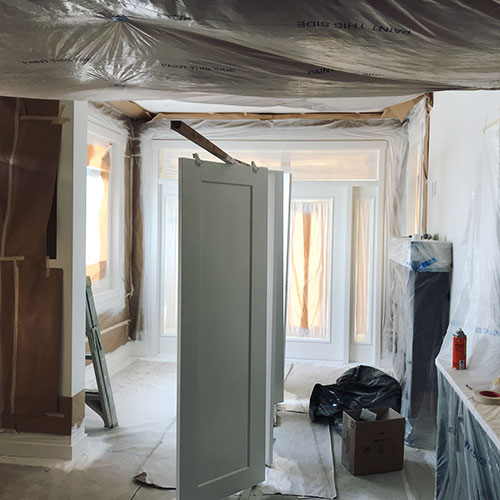
Interior Trim & Door Painting
The painters spend a day or two masking off all the areas with trim and your unit ends up looking like a very well wrapped Christmas present! The swinging interior doors are taken off their hinges and set up in the living room to be sprayed. Once all the paper and tape is up, two coats of trim paint are applied. After the trim has dried, it’s time for carpet installation.
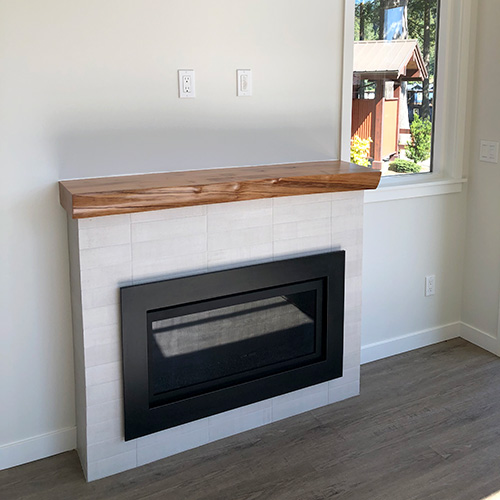
Mechanical, Electrical & Plumbing (MEP) Trim-Out
With painted trim, the unit looks almost finished! The electricians return to install light fixtures, outlet covers, switch covers, and more. The plumber returns to install plumbing fixtures like faucets, the toilet, and shower trim. The mechanical subcontractor sets up the fireplace, fires it up to ensure it works correctly, and tests the tankless water heater.
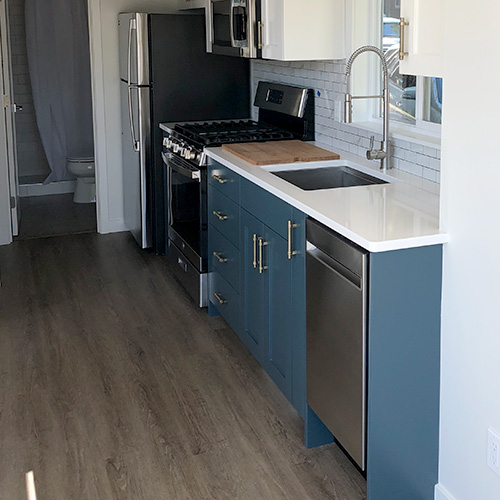
Appliance Install
The kitchen is then decked out in shiny new appliances of your own choosing, which means your kitchen is almost ready to cook in.
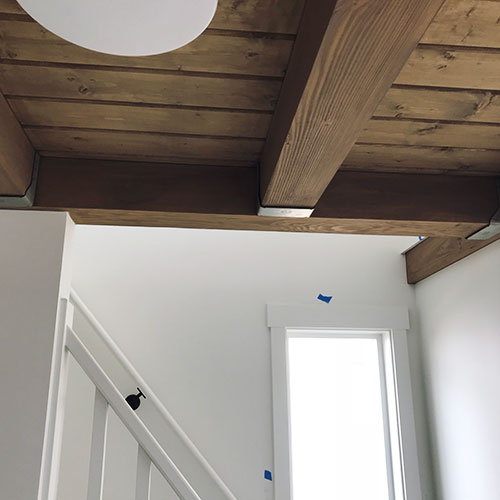
Final Walk-Through
The owner walks through the unit with the Project Manager and creates a punch list of items that need to be addressed before we wrap up the project. Once the punch list items are addressed and completed to the owner’s satisfaction, the keys of the tiny home are handed over to the owner, and we welcome you to the Tiny Home community!
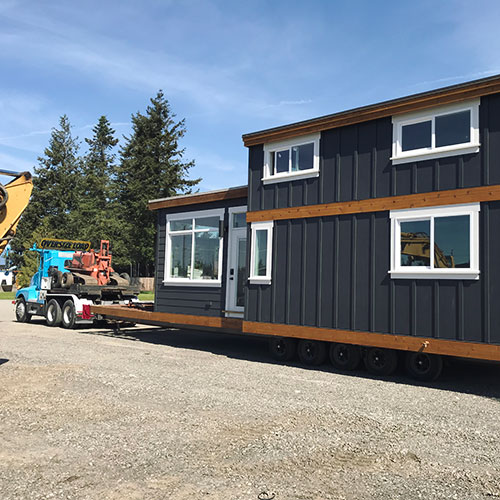
Moving Day
The owner coordinates the move of their tiny home from our production yard in Lynden, WA, to the property of their choice. We’ve had our units moved to Deming, WA, Hood Canal, WA, and even as far as Grass Valley, CA!
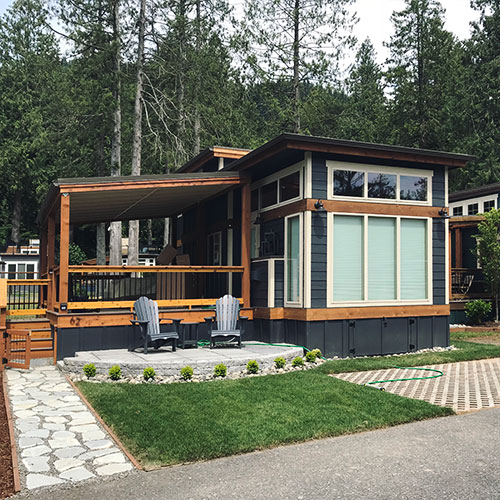
Happily Ever After
Enjoy your WCH Tiny! We are grateful to be a part of your tiny home build and hope you send us photos of it in its final destination. It is a pleasure to be part of an innovative movement, and we hope your Tiny provides you with wonderful, lasting memories!

